How to Sync Logseq Between iOS and PC Without iCloud Drive
Posted on
In this post, I will show you how I synchronize my Logseq notes between my PC, laptop, and iPad using Git. This guide assumes you have a basic understanding of Git and how to use it.
Background
Six weeks ago, after watching "Wie ich meine Gedanken strukturiere" by Niklas Steenfatt, I started using Logseq to write down my thoughts every single day.
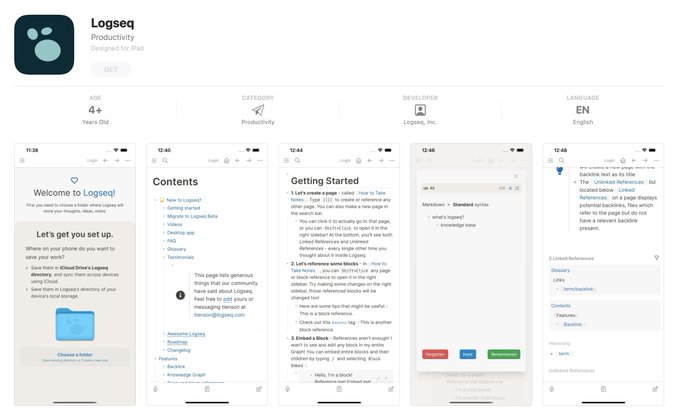
While their native app works great, I quickly wanted to take notes on the go, especially using my iPad. Luckily the iOS app was released just this week:
Logseq is LIVE on the iOS App Store! After months of beta testing, our iOS app is now available to everyone. Thank you to all of you who tested and gave feedback 🙏 Download link in the next tweet👇
Since Logseq native sync is not ready yet, the App suggests using local storage and a third-party sync solution like iCloud. Actually, due to Apples limitations, iCloud is the only cloud solution offering background sync:
That’s a limitation imposed by Apple. Logseq (and other apps) can only write to its own folder in iCloud or on the iOS device itself.
For non-Mac users like me, this is a problem, since there are no iCloud clients for Windows or Linux. Therefore, I had to look for another solution.
Requirements
I have a few requirements for my sync solution:
Offline support
Since, on the go, there often is no internet connection, I need to be able to modify my notes offline. Since I am the only one accessing my nodes, collaboration and concurrent updates are not a focus.
Cross-platform support
I want my solution to support both iOS, Linux, and possibly other platforms I add in the future.
Low friction
The key to forming and keeping persistent writing habits is minimizing the friction involved. Consequently, the solution should keep writing fun and easy.
Solution
- Use git, manually push and pull
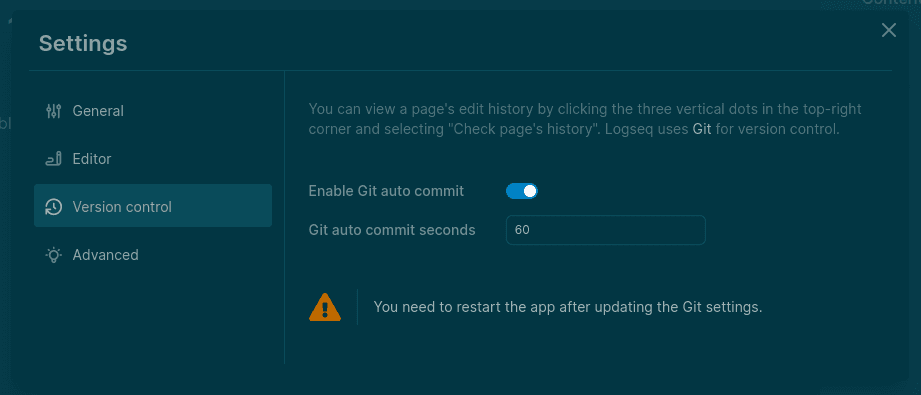
1. (Optional): Turn on Git Auto Commit on Desktop
To turn on auto commit, visit Settings → Version control → Enable Git auto commit. You can also modify how frequently Logseq commits your changes using Git auto commit seconds.
2. Push your graph to a Git remote server
I will use the command line to set up and push the Logseq graph onto a remote server. If you aren't comfortable using the command line, there are graphical clients for Git like GitKraken or GitHub Desktop. Additionally, if you don't how Git, I recommend using GitHub and doing their Quickstart guide.
First, add the remote to your local Git repository:
git remote add origin <remote-url>
Now, push your graph to the remote:
git push -u origin main
From now on, every time you want to push your changes to your remote server, simply run:
git push
3. Initialize other Desktops
To synchronize your graph with other desktops, you can now clone your graph from the remote server:
git clone remote-url
Afterward, you can simply add the cloned folder to your Logseq app.
4. Initialize other iOS devices
Generally, since we are using Git, initializing iOS devices is pretty similar. The only difference is, that you need a Git client App. I've chosen Working Copy, which seems to be the most popular Git client for iOS.
For Working Copy, pushing changes requires a premium license, which costs 19.99€ at the time of writing. If you are a student, the GitHub Student Developer Pack includes a free license.
- Use your Files app to create an empty folder on your device or in your iCloud Drive.
- Open Working Copy and set the newly created folder up as a synced directory:
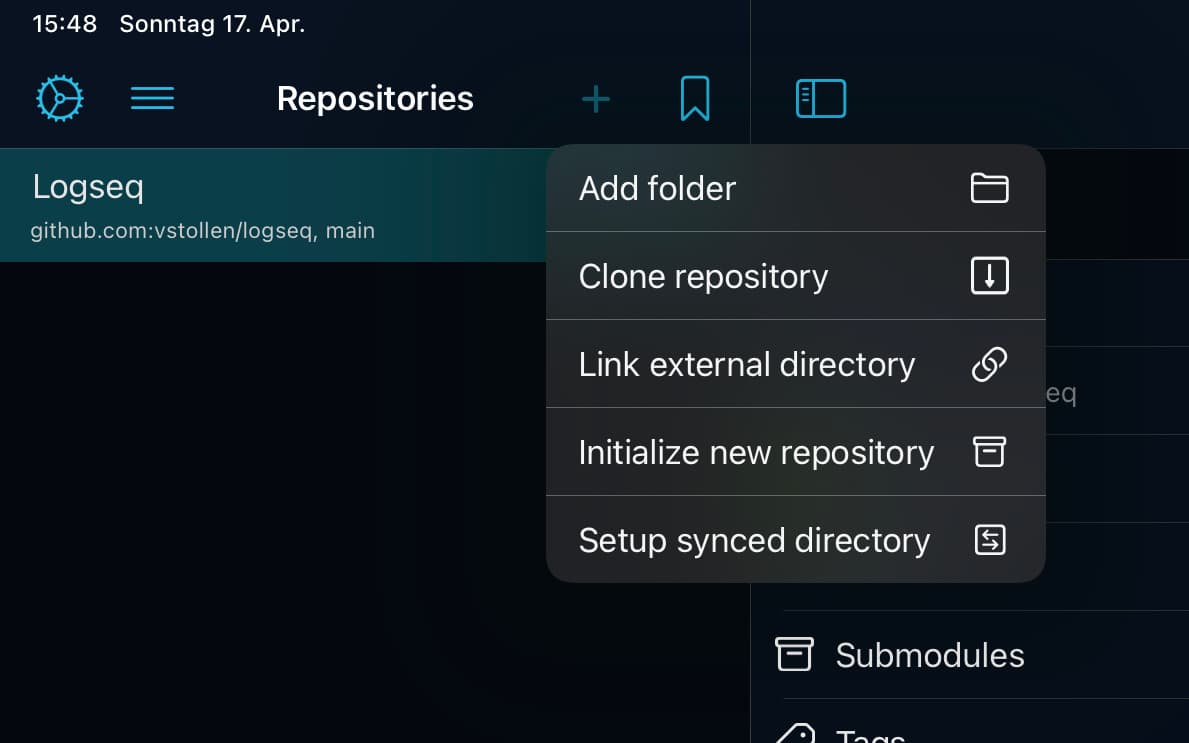
Now you should see a repository page like this:
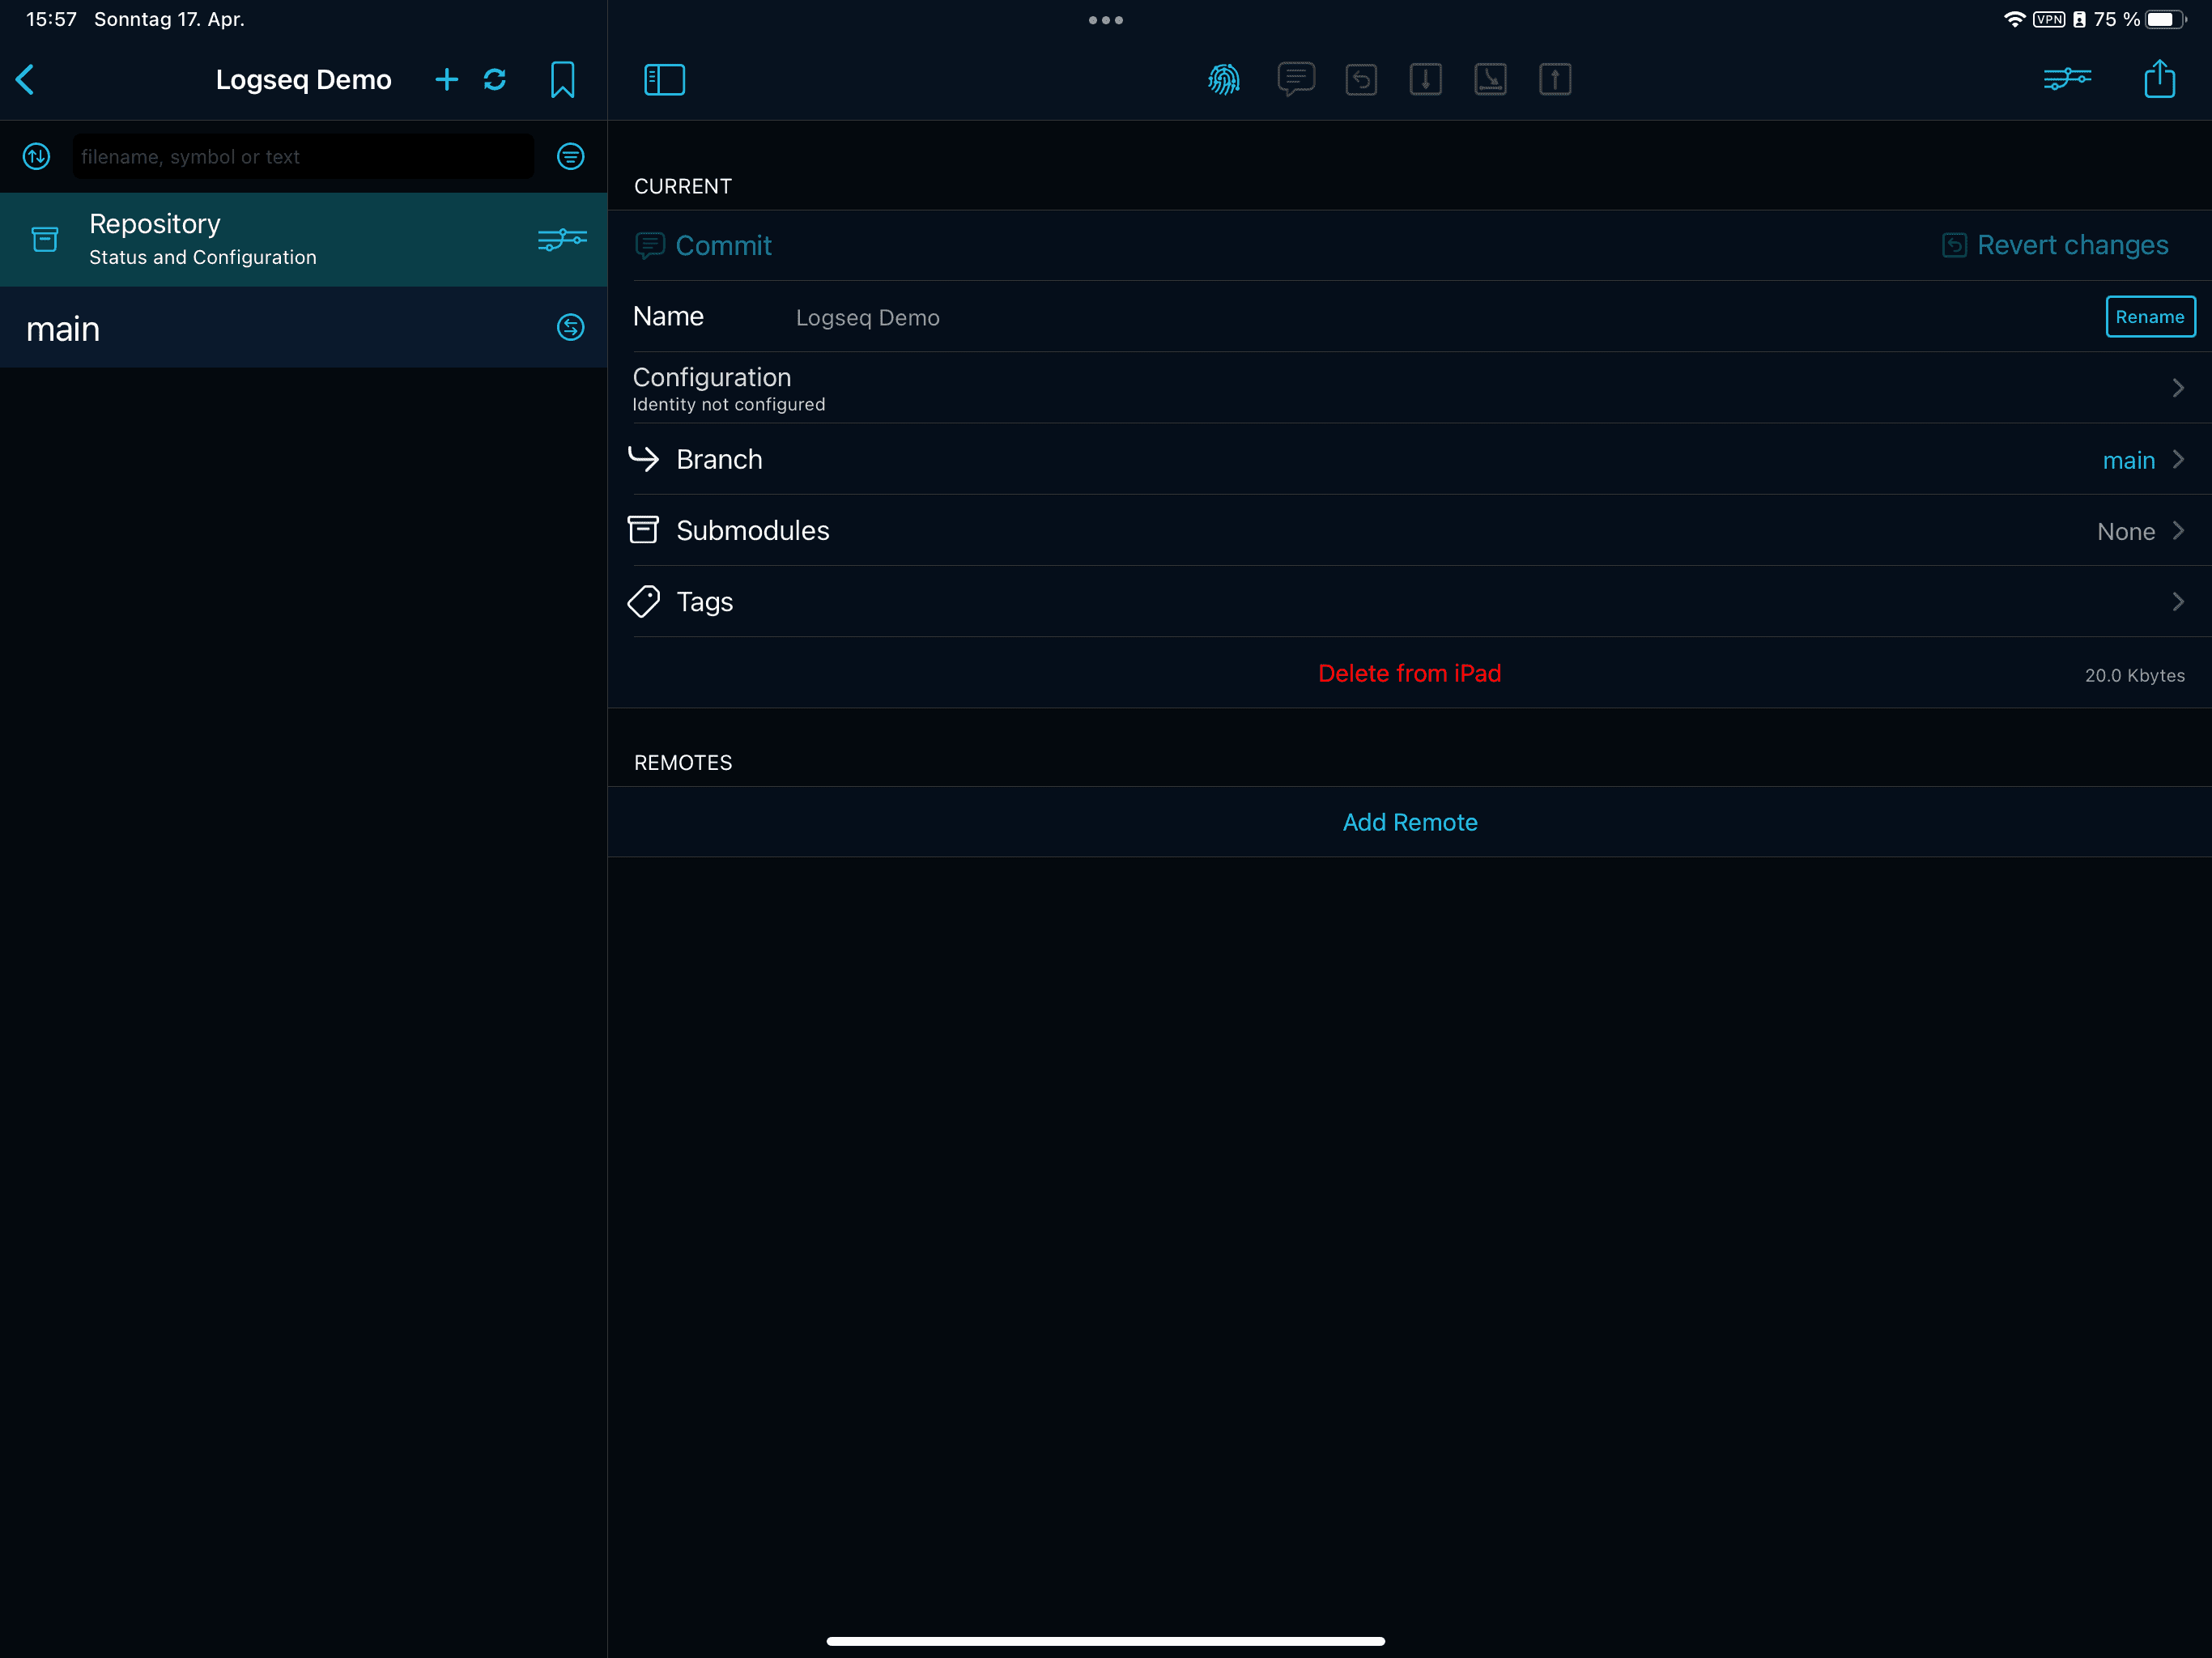
Choose Add Remote and enter the remote URL in the URL field. Now you can use the Pull button to pull your graph from the remote server.
If you import the synced directory into your Logseq app, you should see your graph.
5. Writing notes and synchronizing changes
Now that you have your graph setup on all your devices, you can start writing notes. Just pick the device you want to use and type away.
5.1. Syncing on Desktop
First, you need to make sure that all your changes are committed:
git status
To upload your changes use:
git push
On other devices, do download new changes use:
git pull
5.2. Syncing on iOS
To synchronize your changes on iOS, you need to use your Git client App. Working Copy will show you changes you haven't committed yet.
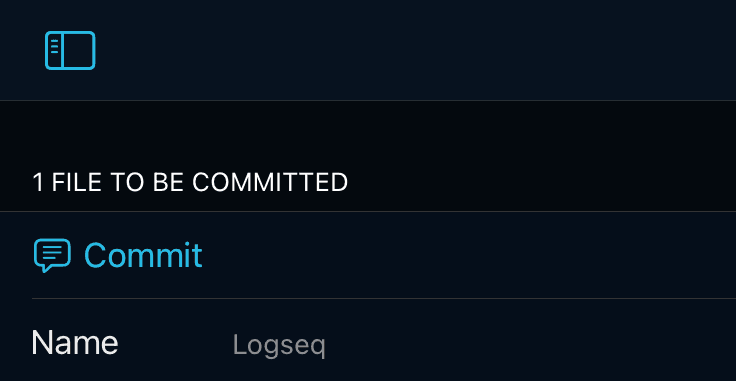
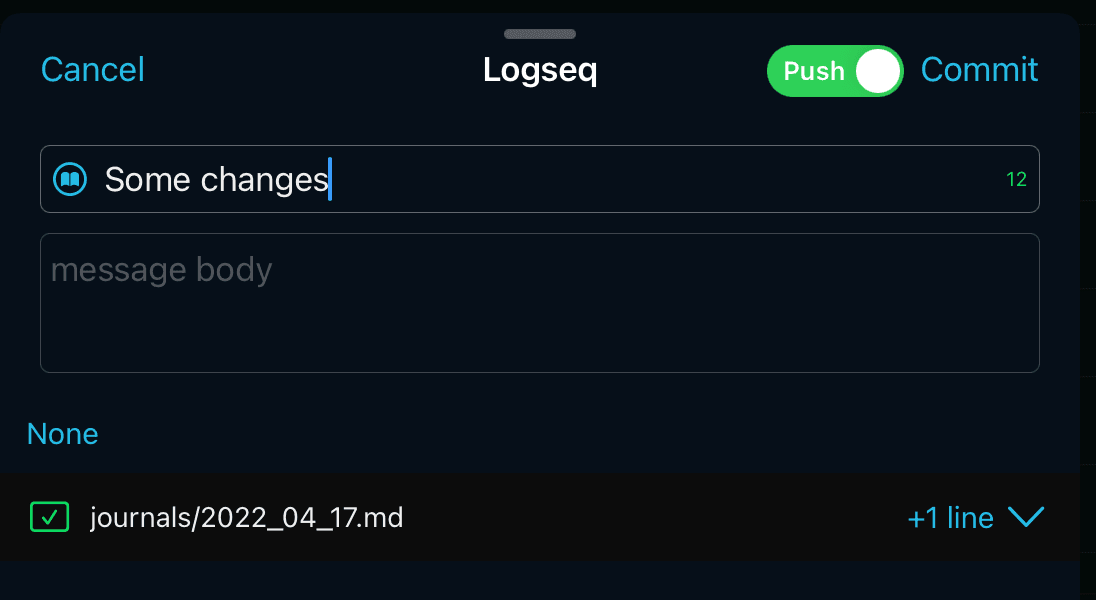
If you tap the Commit button, you will see a list of all your changes and have the option to add a commit message. Additionally, there is a switch to directly push your changes to the remote server.
To pull changes from other devices, use the Pull button.
Conclusion
That's it! Have fun writing and if you have any suggestions or questions, please don't hesitate to contact me.